
Michelle JonesPublished 7 min read
A free-form progressive comes back from the lab, and you check it on the lensometer before it goes on the patient. The numbers may not match the prescription: a little extra cylinder, base-down prism nobody wrote, an add that reads off.
Some of that can be a lab error. Some of it is the lens doing what it was designed to do. This guide starts with single vision basics, then shows where to read each number on a free-form lens and what it should read.
How do you read a single vision lens on a lensometer?
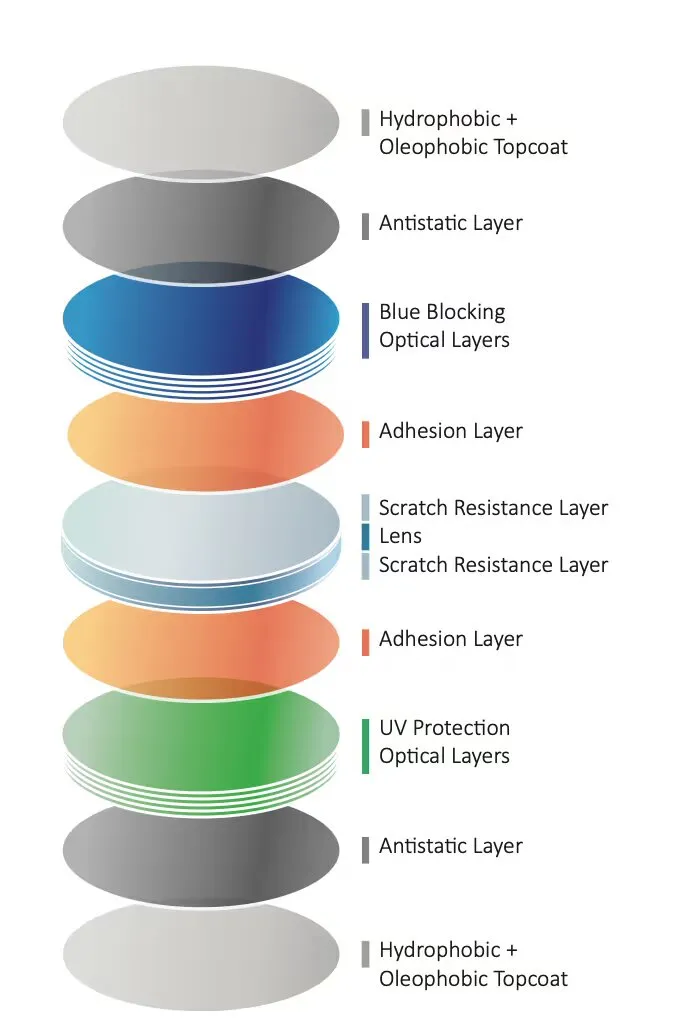
You focus the eyepiece, put the back surface against the lens stop, centre the target and read sphere, cylinder and axis off the wheels. To focus, turn the eyepiece toward plus as far as it goes, then back until the reticle just comes sharp. The centred target marks the optical centre, and the marking pins can dot it.
Turn the power wheel from the plus end toward minus. When the first set of lines comes sharp, turn the axis wheel until they run unbroken and read the sphere. Keep turning until the lines at right angles come sharp: the difference between the two readings is the cylinder, in minus form, and the axis wheel gives the axis.
At ITFIT: our digital surfacing holds 0.01 of a diopter, against 0.15 on traditional equipment. That is finer than the usual eighth-diopter steps a manual lensometer reads in.
How do you find the reference points on a free-form lens?
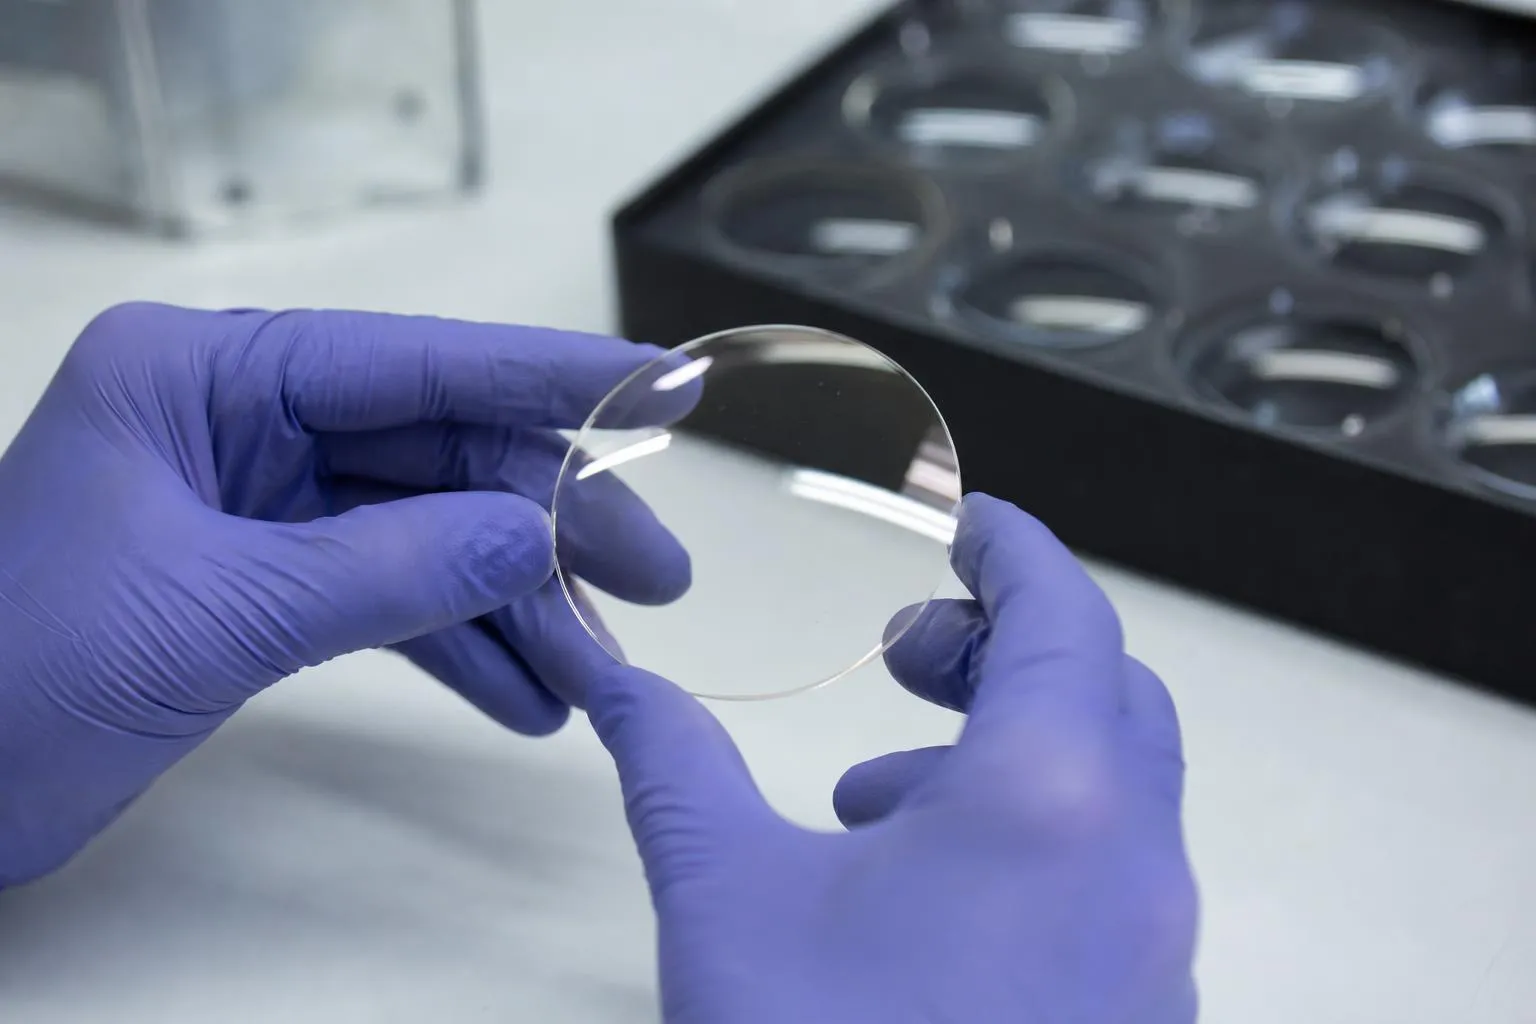
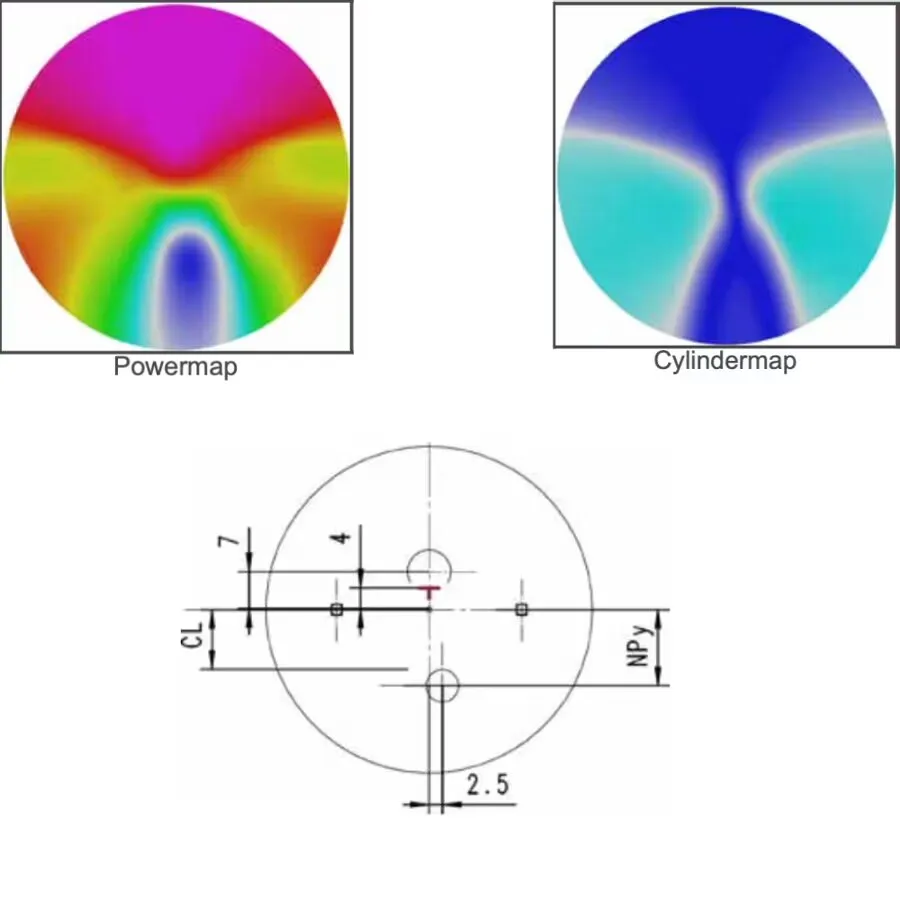
You find them from the lab’s ink markings, and once the ink is cleaned off, from the two engravings that locate them. The engravings are small permanent marks, often circles or a logo, etched faintly on a horizontal line. ISO 8980-2 puts them 34 mm apart, 17 mm either side of the prism reference point.
Tilt the lens under a bright light, against a dark background, to see them. The add is usually engraved below the temporal mark, often in short form (25 for +2.50), with a design or material mark below the nasal one. In a level frame, a line through the engravings should run level, and a slope means the lens was mounted rotated.
A progressive usually arrives from the lab with four points inked on it. A lens that reads wrong at the right point is wrong; a lens read at the wrong point tells you nothing.
| Point | Where it sits | What you read there |
|---|---|---|
| Fitting cross | In front of the pupil; the fitting height and monocular PD are measured to it | No power reading: it sits at or near the top of the corridor, where the add can have begun |
| Distance reference point | A circle or arc a few millimetres above the fitting cross | Distance sphere, cylinder and axis |
| Prism reference point | A dot midway between the engravings, usually a little below the fitting cross | Prism, in both lenses |
| Near reference point | A circle lower down, usually set in toward the nose | Near power, for the add |
Where do you read distance power, prism and add on a lensometer?
Read each number at its own point, with the back surface against the lens stop unless the maker says otherwise. Sphere, cylinder and axis come from the distance circle, and prism from the prism reference point, where horizontal prism should match the prescription. Rest the bottom of the frame on the lensometer’s table so both lenses sit level, or the axis reads off.
The add is the near-circle power minus the distance-circle power, read the same way at both. The traditional method puts the front surface against the stop for both readings; some free-form designs are specified for a back-surface reading, so follow the maker’s instruction. Check the result against the engraved add, or the compensated add if the lab lists one.
On a manual lensometer you centre each inked point yourself, and away from the circles the target blurs and distorts from the unwanted cylinder a progressive carries in its periphery. An automatic reads wherever the lens rests; many have a progressive mode that finds both zones and reports the add. Line it up on the inked points so you know where it measured.
Why does a progressive show prism the Rx doesn’t have?
Usually it’s prism thinning: equal base-down prism the lab puts into both lenses to make them thinner. A progressive surface adds plus toward the bottom, which leaves the lens thicker at the top. Base-down prism thins the top and evens out the edge, and because it’s the same amount in both eyes, the eyes don’t have to work against it.
So compare the two lenses. If both read the same base-down prism, that’s thinning. If they differ, the difference should equal the vertical prism on the prescription, and if the prescription has none, that difference is the thing to ask the lab about.
At ITFIT: it’s just a flat rate. Prism, cylinder and specialty surfacing are included in the price of ITFIT Elite lenses, and nothing is added after the job is cut. The prism you read on the lens doesn’t turn up again as a line on the invoice.

Why does a compensated lens read differently on the lensometer?
It reads differently because the lensometer measures the lens square-on, off the face, and a compensated lens is calculated for how it sits on the face. Look through a lens at an angle and it acts stronger, and it gains cylinder it didn’t have.
By a rule of thumb called Martin’s formula, a -4.00 lens in CR-39 looked through at 10° off its axis acts as about -4.04 -0.13 x 180, and at 20° as about -4.16 -0.55 x 180. Pantoscopic tilt puts the extra cylinder at axis 180; wrap puts it at axis 90.
A compensated design works backward from that: it changes the sphere, cylinder and axis on the lens, and on some designs the add, so that at the patient’s tilt, wrap and vertex the eye gets the prescription as written. On the lensometer, square-on, you see the changed numbers. So check the lens against the compensated values.
A lab making a compensated lens should list them with the job, and if they’re missing, ask before you call the lens wrong. The tilt, wrap and vertex that go into the calculation are covered in our guide to free-form progressives.
What should a lens from the lab read?
It should read the order within tolerance: the written prescription on a standard lens, or the compensated values on a compensated one. Read it at the right points, compare the two lenses for prism, and check the add against the engraving.
At ITFIT: each job is checked on the bench against the order before it ships. Our average return rate is 0.48%: fewer than 5 lenses back for every 1,000 we make. When a patient can’t adapt to a progressive, we redo the job.
A free-form lens that reads off is often doing its job: thinning prism in both eyes, or compensated values for the patient’s tilt and wrap. Check those two first, and the readings left over are the ones to call the lab about.
To put our lenses on your own lensometer, open an account through VisionWeb. New accounts get their first two jobs free.
Questions
Where do you read distance power on a progressive lens?
In the distance reference circle above the fitting cross. The fitting cross is at or near the top of the corridor, so it can read with a little more plus.
Why do both lenses of a progressive show base-down prism?
That's usually prism thinning, the same amount in both lenses to make them thinner. Equal amounts don't matter to the patient. A difference between the two lenses should match the vertical prism on the prescription.
How do you find the engravings on a progressive lens?
Hold the lens under a bright light, look at it against a dark background and tilt it until the marks catch the light. Breathing on the lens can show them too.
How do you measure the add on a progressive?
Read the power at the near circle and at the distance circle the same way, and take the difference. Put the surface the maker specifies against the lens stop, then compare with the engraved add.
Can you re-mark a progressive after the ink is cleaned off?
Yes. Dot both engravings, lay the lens on the design's centration chart with the dots on its marks, and mark the fitting cross, distance circle, prism point and near circle from the chart.
Does an automatic lensometer read progressives correctly?
Yes, when the lens is on the right point. Use its progressive mode if it has one, and line the lens up on the inked points so you know where it measured.
Which side of the lens faces the lens stop?
The back surface, for distance power and prism, because prescriptions are written as back vertex power. For the add, follow the maker's instruction for the design.